

Your First Concert in Korea: From Ticketing to Getting Home After the Show
Maya, who appears in this article, is a fictional character based on an American traveling in Korea.
Ticketing, identity verification, light stick, and permitted-item rules vary by concert, so always check the latest notices posted by the artist's agency and the event organizer before you go.
The day Maya had been looking forward to most in Seoul was Saturday, the day of the K-pop concert. She had imagined only the moment she would arrive at the venue and hear the music, but a concert in Korea began long before that. She had to find the official notice, create a ticketing account, check her name, prepare her light stick, and even plan how to get back to her accommodation after the show.
It looked a little complicated at first, but once she broke it into steps, it was manageable.
Official Notice → Ticket → ID → Light Stick → Entry → Last Train

Find the ticket link in the official notice, not in search results
While searching for the concert name, Maya found several sales pages and resale listings. Instead of paying right away, she first checked the artist's official community and the agency's notices. Depending on the concert, official ticketing platforms in Korea may include NOL Ticket (Interpark), YES24 Ticket, Melon Ticket, and Ticketlink.
Even notices for Seoul concerts in 2026 designated different official platforms for different groups. The key is not to choose the site you usually use, but to follow the link listed in the notice for that specific concert. Before ticket sales opened, Maya created an account and checked her login, payment method, and whether pop-ups were allowed. If there is a fan club presale, you may need to link your membership to your ticketing account during a separate verification period. If you miss that window, you may have to wait for the general sale.


The name on your ticketing account must match your passport
Maya felt relieved after securing a ticket, but in the next notice she saw the words “ID verification.” At some concerts in Korea, staff verify that the attendee is the person who made the reservation before handing over the ticket or allowing entry. International visitors may be asked to show their physical passport, and a mismatch between the English name on the ticketing account and the passport can cause problems.
The YES24 Global website states that only a physical foreign passport is accepted for identity verification of international customers, and that passport photos or copies are not accepted. However, the collection and entry rules in the notice for the specific concert always take priority.
Maya checked these three items one more time.
• Passport name
• Ticket account name
• Booking confirmation
Tickets bought through resale or issued in someone else's name may be rejected at the venue. Transfer rules also vary by concert, so do not assume that having a ticket alone guarantees entry.

Check both the light stick batteries and how to connect it
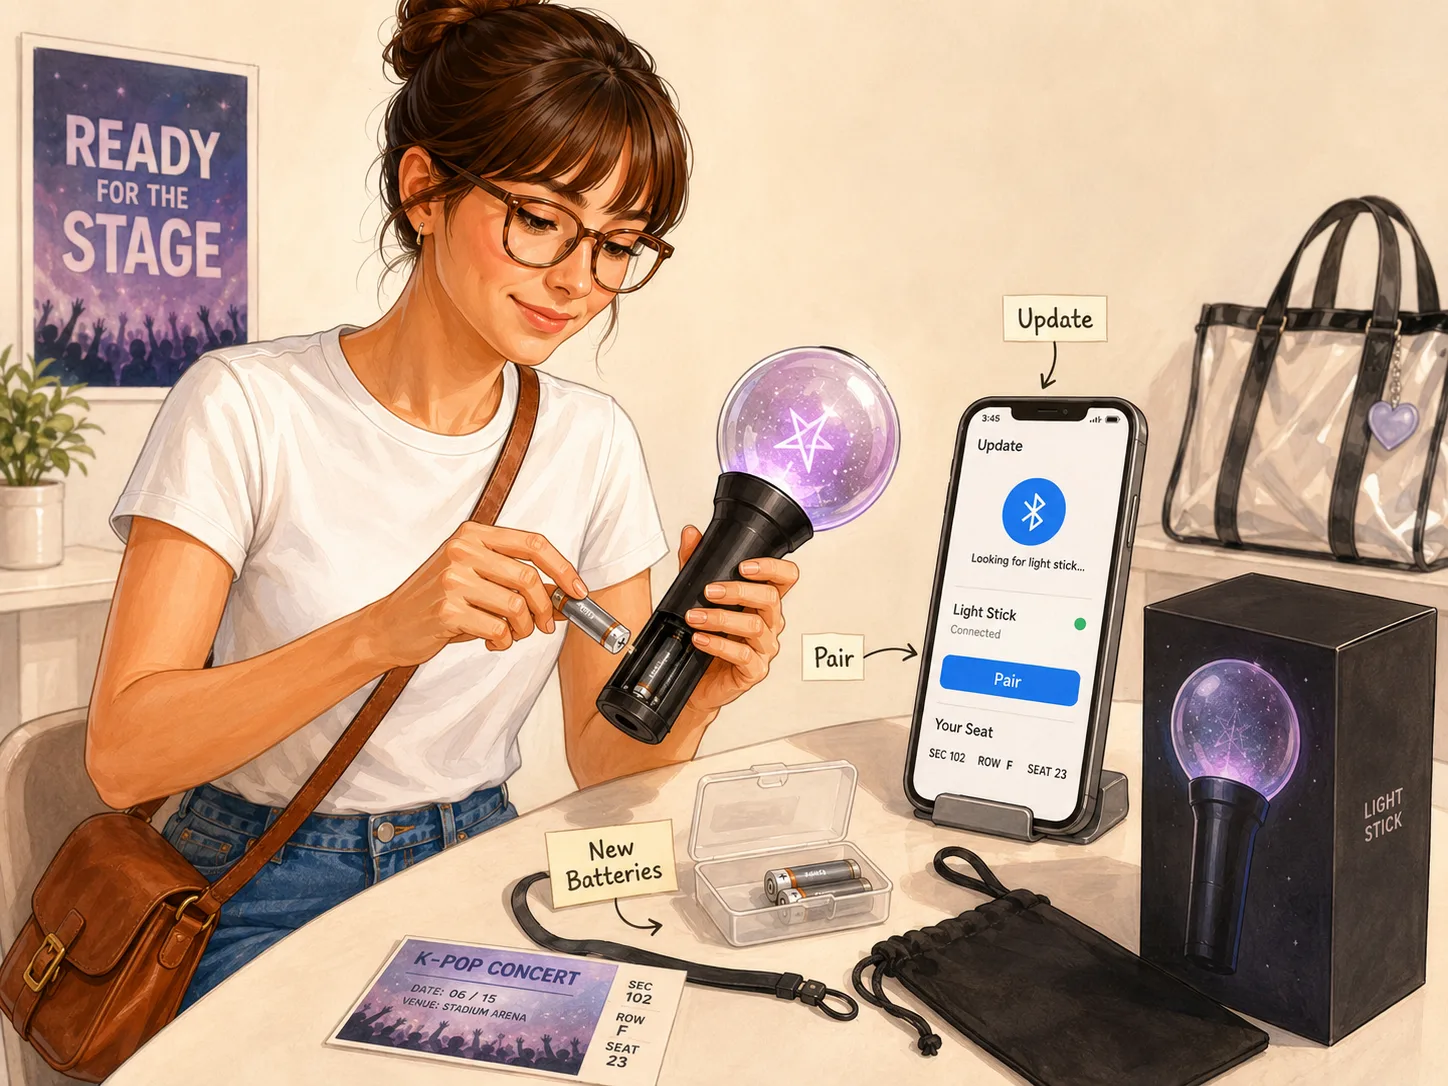
On the afternoon of the concert, Maya checked the batteries as she put her official light stick in her bag. At K-pop concerts in Korea, official light sticks may connect wirelessly to the show's lighting system.
Depending on the concert, you may pair it yourself by entering your seat information in an app, connect it at an on-site booth, or simply turn it on and let it be controlled automatically without registering your seat.
That is why the most important thing is not to follow instructions from a different concert, but to read the light stick notice for this one. Maya updated the official app and packed fresh alkaline batteries.
Some concert notices warn that low batteries can dim the light stick or interrupt wireless control.
At most concerts, you can still enjoy the show without a light stick.
Rather than feeling pressured to prepare exactly like everyone around you, first confirm that your product is official and that it complies with the venue's entry rules.
Arriving at the venue early makes things easier
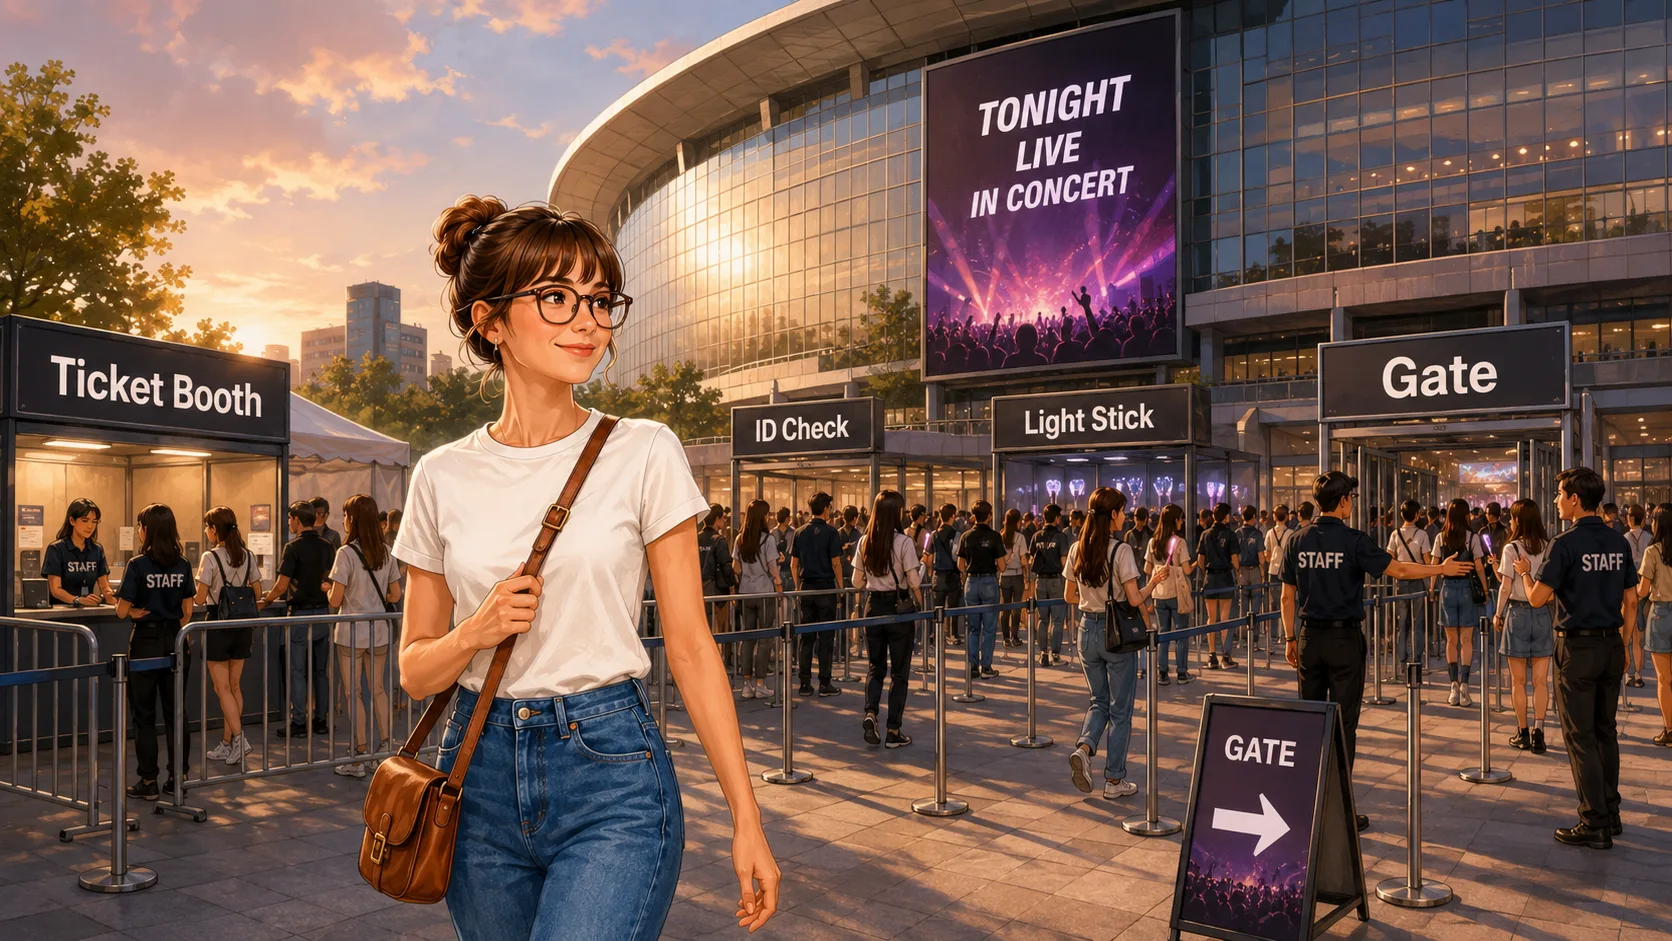
Maya arrived at the venue two hours before the show began. Around the entrance, there were separate lines for merchandise, ticket pickup, identity verification, and light stick pairing. It looked like a festival in photos, but for a first-time visitor, figuring out which line to join could be confusing.
Maya first checked her seat and gate on the signs.
Ticket Booth → ID Check → Light Stick → Gate
Depending on the concert, you may scan a mobile ticket at the entrance or pick up a physical ticket at the venue. If identity verification is required, have your passport and booking details ready so staff can check them easily. Prohibited items, bag-size limits, and photography rules also vary by concert. Some shows restrict not only professional cameras but also phone photography, so follow the official notice and staff instructions rather than copying what people around you are doing.

Plan your route home before the concert ends
Once the show started, Maya quickly forgot all the procedures she had worried about. When the stage lights came on and thousands of light sticks lit up at once, Maya realized that she was finally inside the kind of K-pop performance she had only seen on screens. But after the encore, everyone left at the same time. The walk to the subway station, normally ten minutes, took much longer, and the platform was crowded.
Maya reopened the information she had checked before the concert.
• Last train to her accommodation
• Final transfer time
• An alternative walking route to another subway station
• Estimated cost of a late-night bus or taxi
• Phone battery
The last train on the Seoul subway varies by line, station, day of the week, and whether you need to transfer, so do not simply assume that trains run until midnight. Check the actual route for the day of the concert.
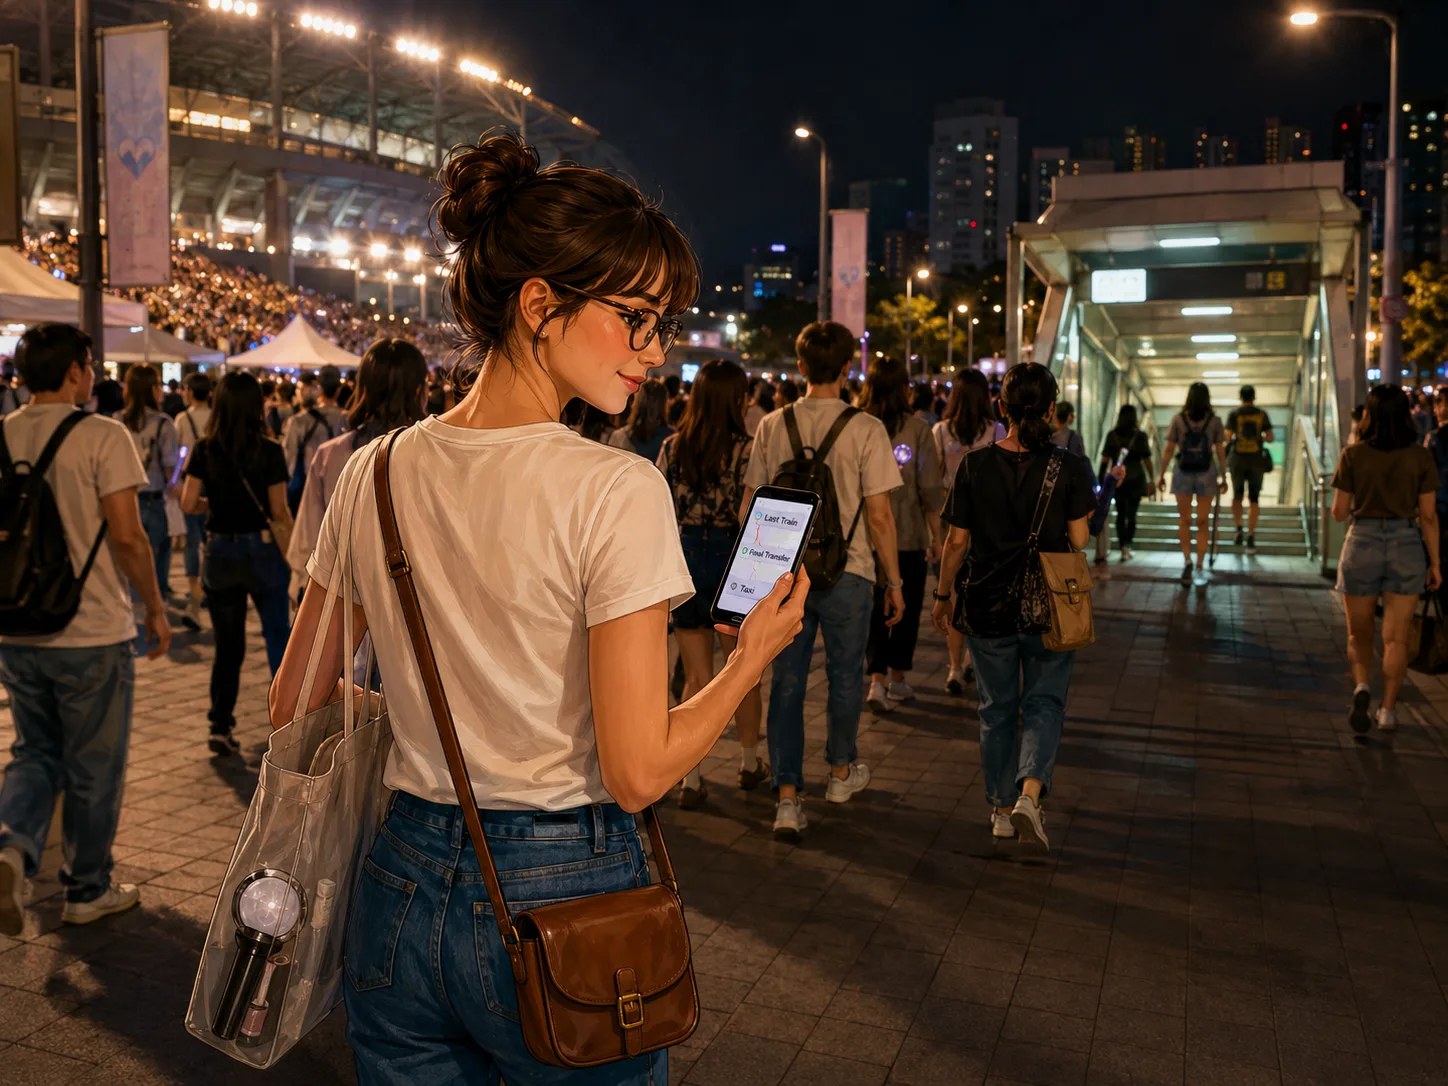
After Maya's first concert in Korea ended, she safely caught the last train she needed for her final transfer.
Her bag held a light stick and a crumpled ticket envelope, while her phone had a few photos taken outside the venue. During the concert, she focused on watching the stage itself instead of filming.
When she first began preparing for a concert in Korea, it felt as though there were too many things to check.
But on the way back to her accommodation, Maya thought through the day one step at a time and realized it had been surprisingly simple.
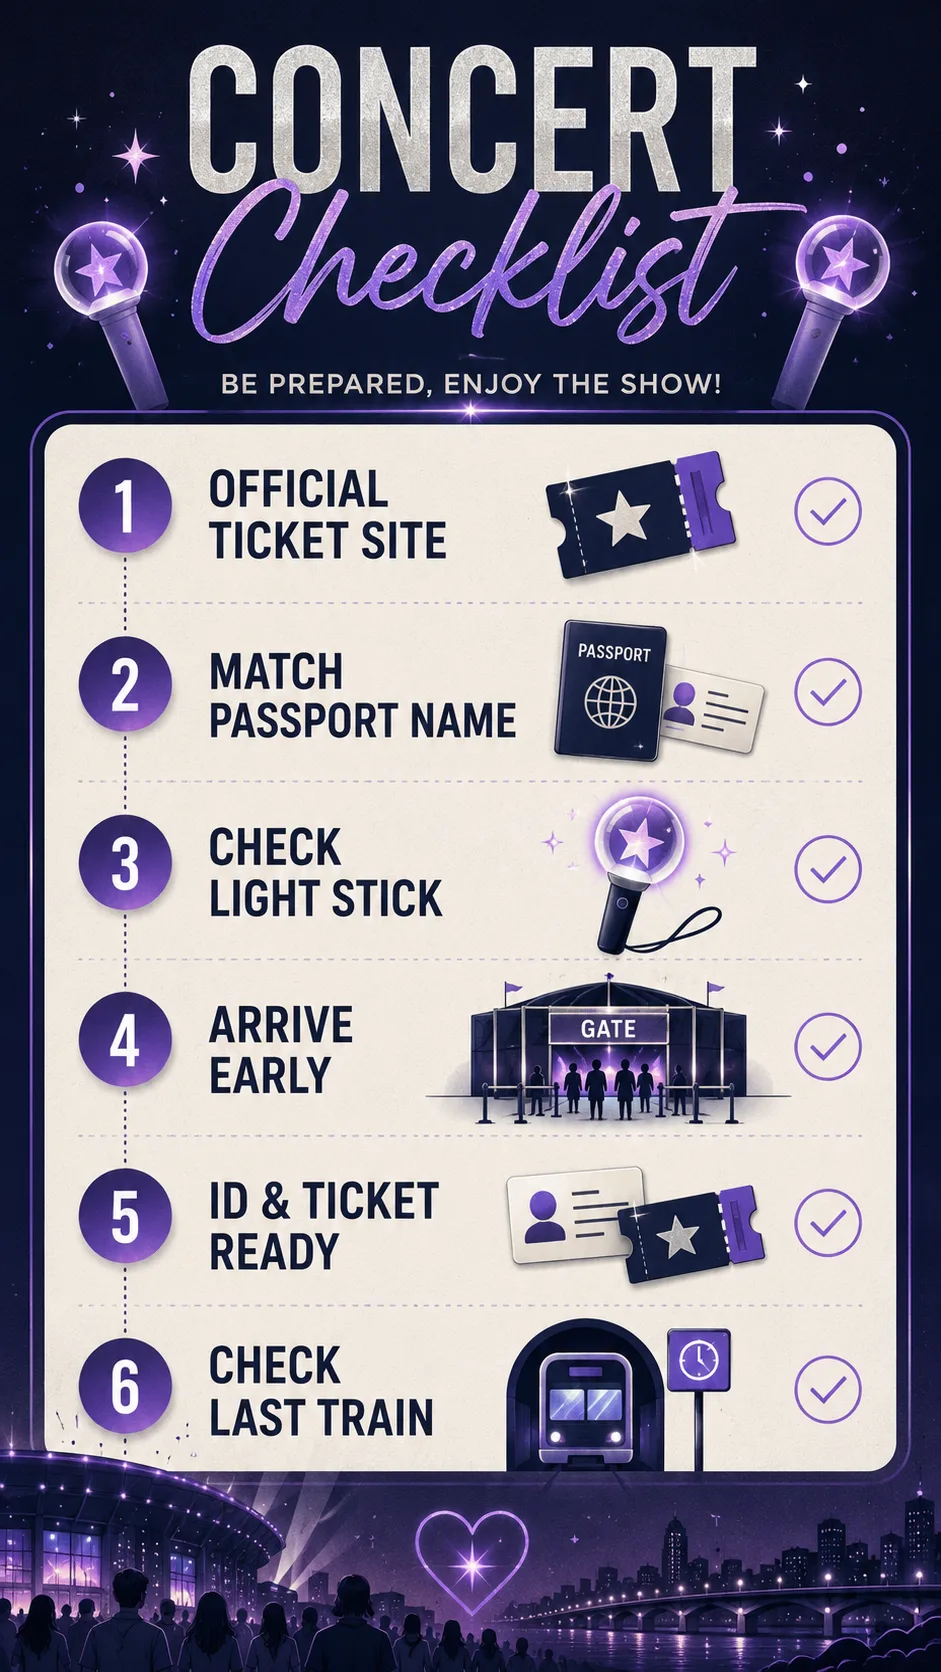
Find the ticketing platform in the official notice.
Make sure the account name matches the passport.
Check the light stick notice and the batteries.
Arrive before the stated entry time.
Check the last train and final transfer before the concert.
The concert experience did not begin only when the stage show started.
Finding the ticket, checking her name, preparing the light stick, and returning home with thousands of other fans—all of it together became Maya's first Korean concert experience.
Comments 0
Please log in to comment.
No comments yet. Start the conversation.